Installation guide
The best brake pad in the world can be ruined by a bad installation. These practices separate a professional brake job from a comeback.
Every OE Super pad leaves the factory with original equipment engineering inside. What happens on the lift decides whether the driver ever feels it. Our partner network at Buen Taller wrote the full workshop guide — here is the checklist, tip by tip. (Full articles in Spanish.)
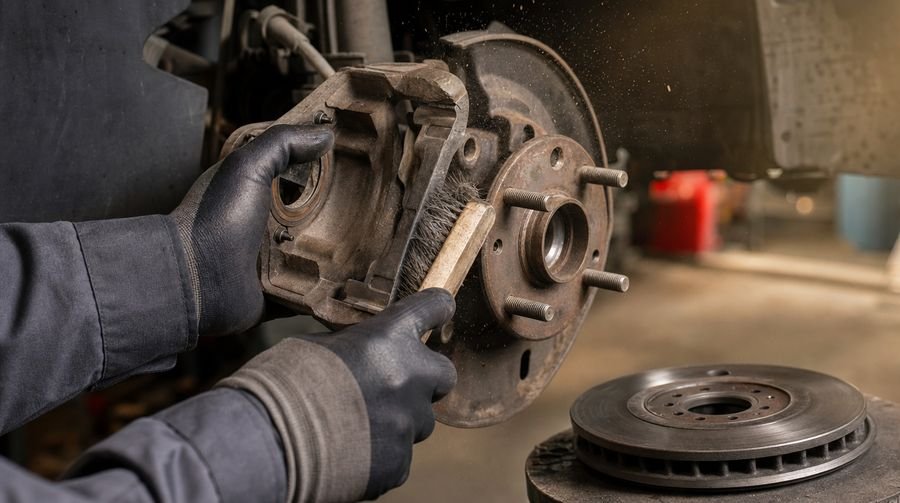
01 · Clean the system
Hub faces to bare metal, caliper guide pins cleaned and lubed with high-temp silicone grease, new hardware clips, seals inspected. Rust on the hub becomes runout — and runout becomes pedal pulsation within a few thousand kilometers.
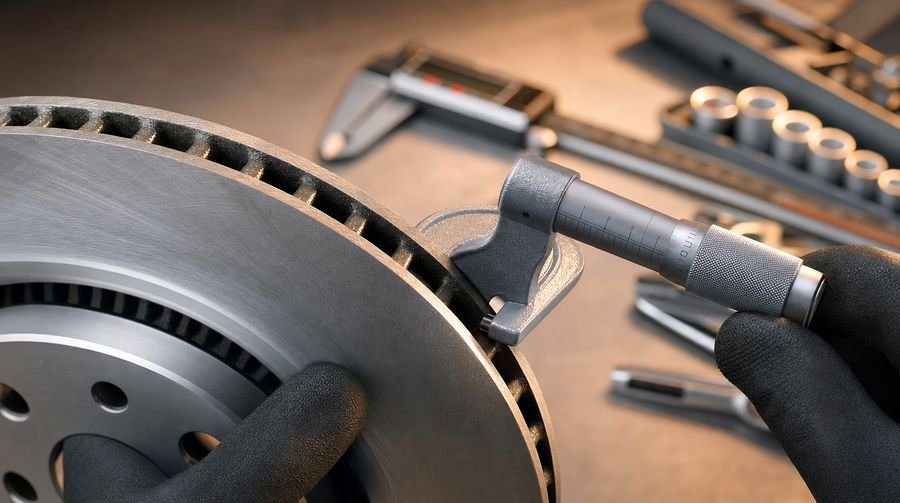
02 · Respect minimum rotor thickness
A thin rotor has less thermal mass: same braking, higher temperatures, faster fade and glazed pads. The minimum is stamped on the rotor itself (“MIN TH”). Measure with a micrometer at four points — and always replace in pairs.
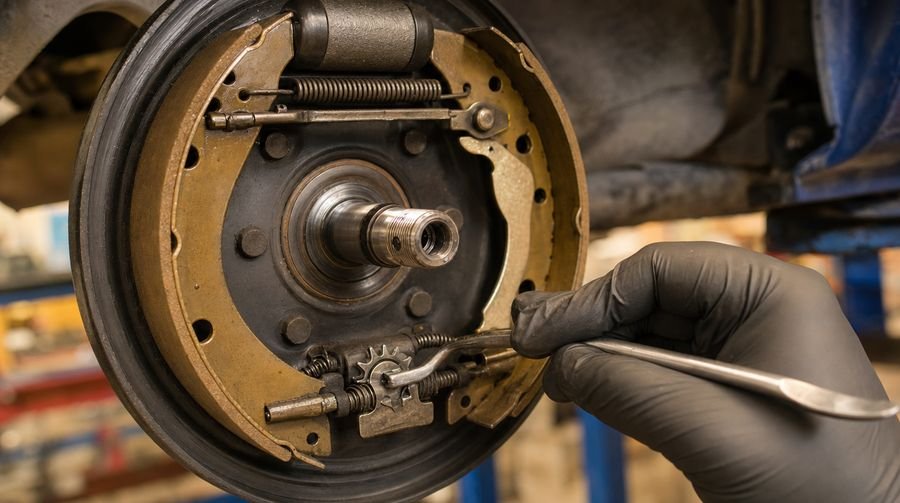
03 · Adjust drums periodically
Self-adjusters only work in reverse stops or with the parking brake — and often seize. A long, spongy pedal and a loose handbrake mean the rear axle stopped helping, overloading your front pads.
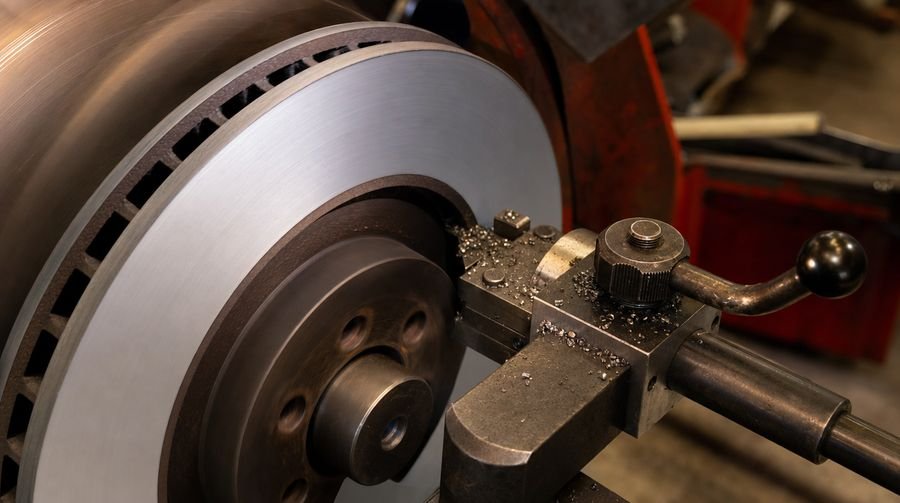
04 · Resurface at controlled speed
Fast lathe feed leaves a vinyl-record spiral that concentrates pressure, glazes new pads and squeals. Target a 40–60 µin finish: sharp bits, slow feed, a fine final pass and a non-directional finish.
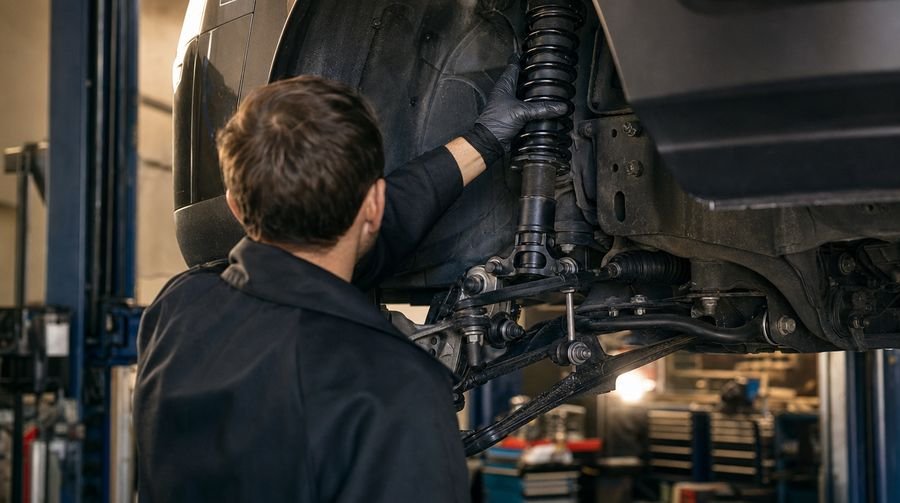
05 · Check the suspension
Pads brake the wheel; the suspension keeps the wheel on the road. Shocks worn to 50% add ~2.6 m of stopping distance at 80 km/h and dump the load on the front axle. Inspect shocks, ball joints and bushings with every brake job.
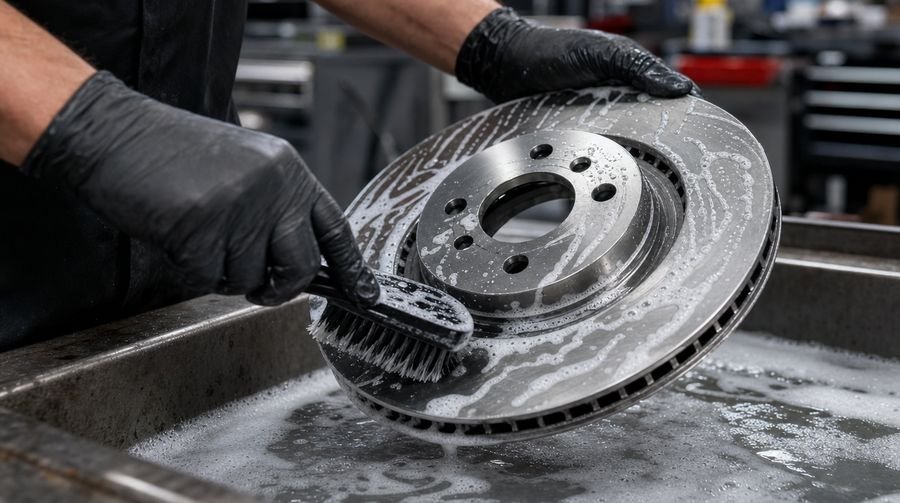
06 · Wash and verify new rotors
New rotors ship with an oily anti-rust film: wash with hot soapy water and a brush (coated Geomet-type rotors install dry, as-is). Then verify mounted runout with a dial indicator — ≤0.05 mm — and index the rotor if needed.
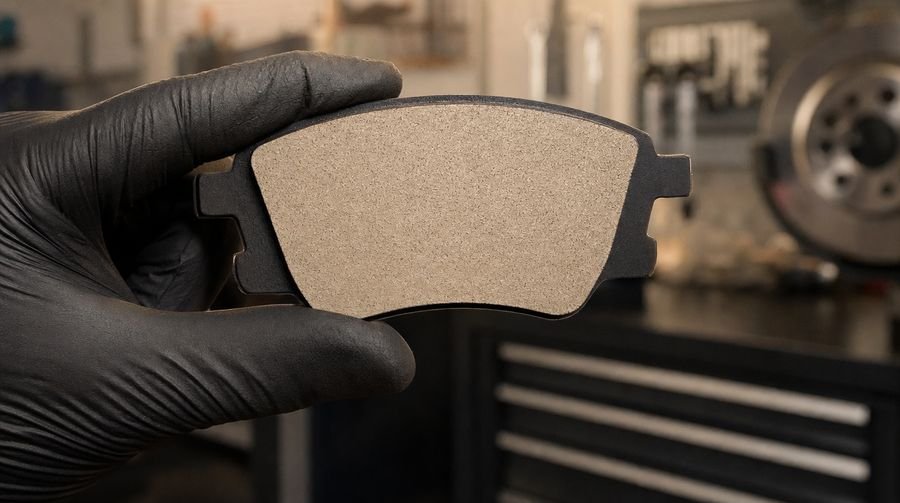
07 · No grease on the pad
Not on the friction surface — contamination is permanent — and not on the backing plate either: OE Super pads carry laminated multi-layer shims that ARE the noise insulation. Grease there only attracts abrasive dust and can migrate to the disc. Lubricant belongs on guide pins and clip contact points only.
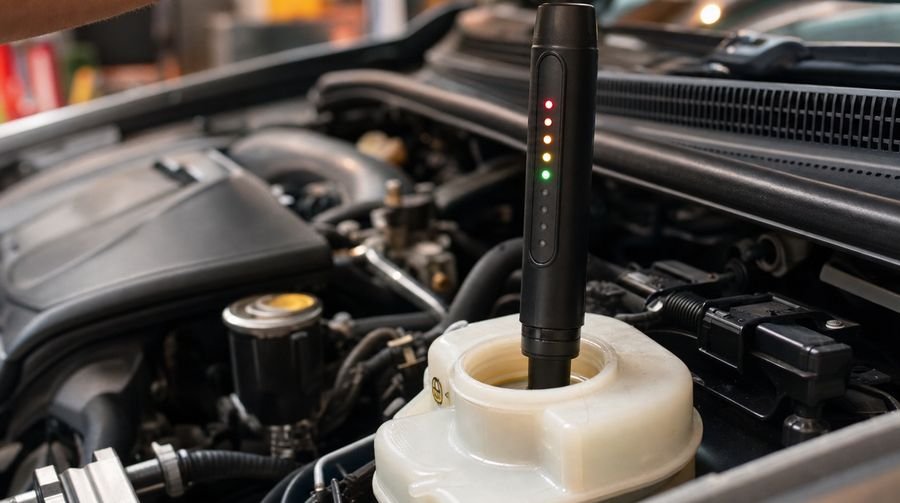
08 · Brake fluid: level and spec
DOT fluid absorbs water; at 3.7% absorbed, a DOT 3’s boiling point drops from 205 °C to 140 °C — vapor lock territory. Check level and condition, replace at 3% humidity or every 2 years, always from a sealed bottle of the spec on the reservoir cap.
After the installation
The job doesn’t end when the car comes off the lift. The first kilometers and the first habits decide how long the new brakes will last.

Respect the bedding-in period
Optimal braking doesn’t happen pad-against-iron: it happens when a transfer film of friction material — just 0.5 to 2 microns thick — deposits evenly on the rotor, and friction works film-against-film: stable, quiet, consistent.
How to build it: 20–30 moderate stops from ~50 km/h with 30 seconds of cooling between each, then brake gently for roughly half a tank of fuel — at a typical pace, about 300–500 km. No panic stops, no braking from high speed, and after any hard stop don’t sit still with your foot clamped on the pedal: a hot pad prints an uneven patch on the rotor that later feels like vibration.
Skip it, and one hard stop can glaze the pad into a hard, shiny surface that no longer bites. Respect it, and an OE Super pad delivers original-equipment braking for its entire service life.

Avoid deep puddles
A working brake disc runs at hundreds of degrees. Plunging it into a deep puddle is thermal shock: the hot iron contracts unevenly and the disc can warp in seconds. If you can’t avoid it, cross slowly with the brakes already cool.
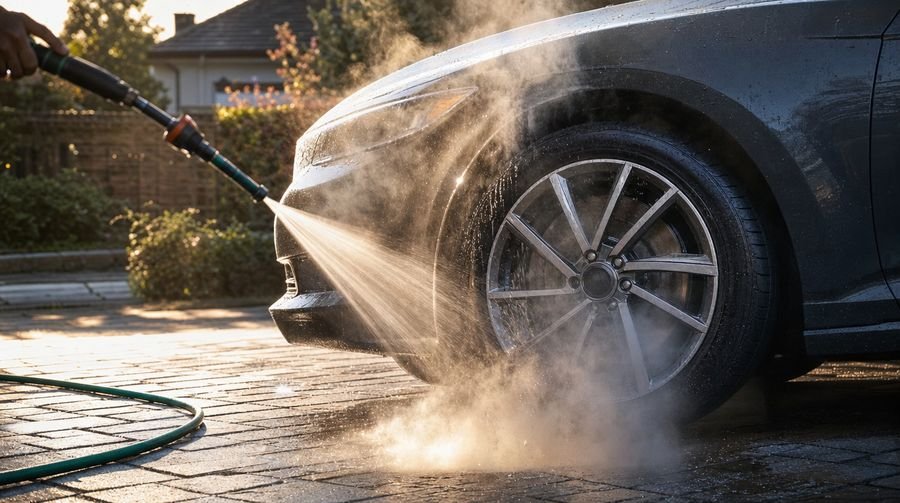
Don’t wash the car right after the highway
After hours on the road the discs arrive hot. Cold wash water on hot iron causes the same thermal shock as a puddle: abrupt contraction, micro-cracks and warping. Let the system cool for at least 30–60 minutes before washing.
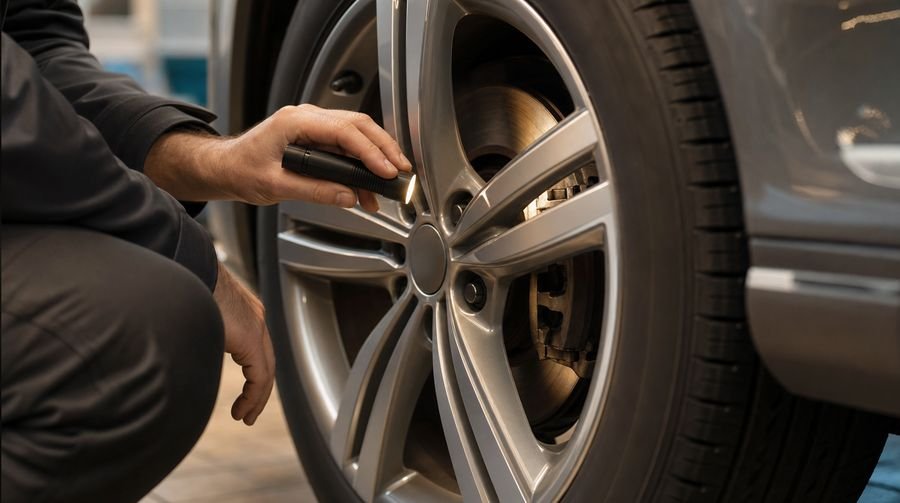
Check your system periodically
Brakes are maintenance, not an accessory: check pad and rotor thickness, fluid level and condition, and any new noise at every oil service. Catching a pad at 20% costs a set of pads; catching it at 0% costs pads, rotors and even a caliper.
Installed right, it brakes right
Give your OE Super pads the installation they were engineered for — and give your customers the full guide.
Read the complete guide at Buen Taller